
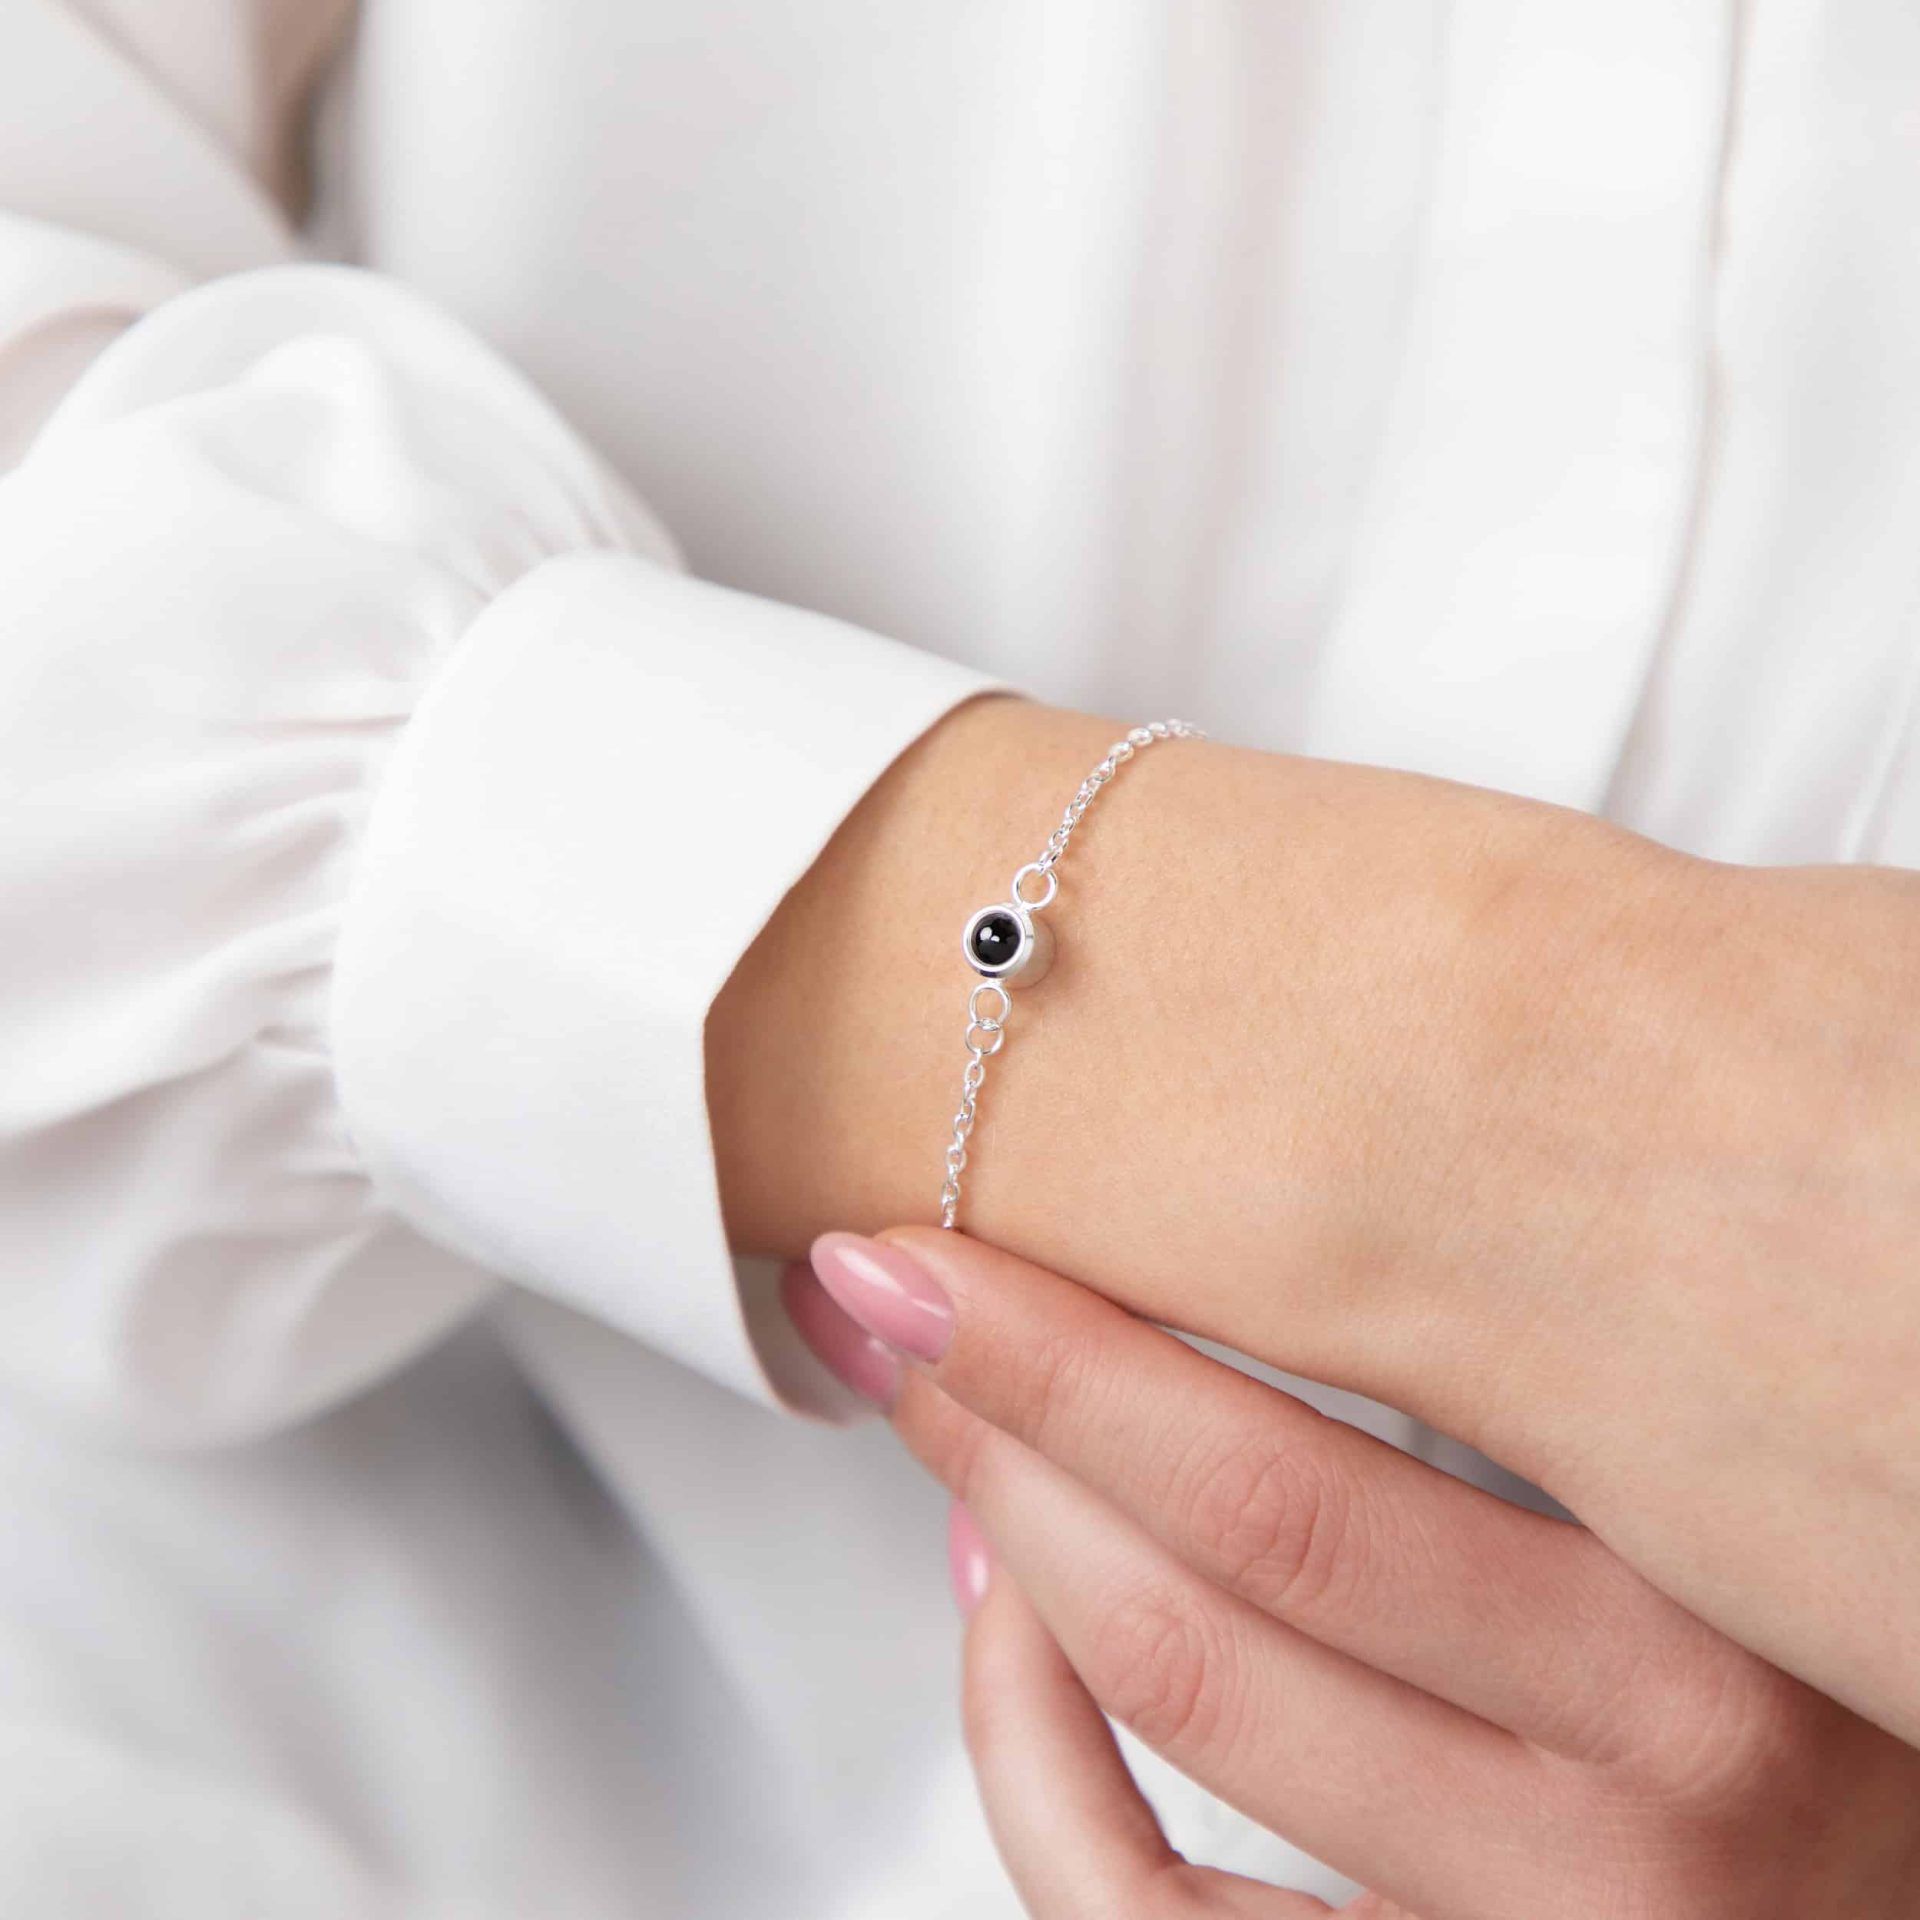
There are two ways to see the photo inside a photo projection bracelet, and neither of them takes more than about five seconds once you know what you are doing. Most people miss it the first time simply because they are holding the pendant the wrong way round.
Here is the whole thing, step by step: how to look inside it, how to project the image onto a wall, and what to do if all you can see is a blur.

First, what you are actually looking at
The photo is not printed on the outside of the pendant. It is micro printed onto a tiny optical lens and sealed inside the charm, which is why the piece looks like an ordinary bracelet until you go looking for it. If you want the full explanation of the optics, we have written that up separately in How Do Photo Projection Bracelets Work?. For now, all you need to know is that the lens has a front and a back, and the two do different jobs.
One thing worth saying up front, because it surprises people: the lens itself is the same size in every piece Allure makes. A Chain Photo Bracelet with an 8mm circle pendant carries exactly the same photo, at the same size, as a larger heart pendant on a necklace. Only the setting around it changes.
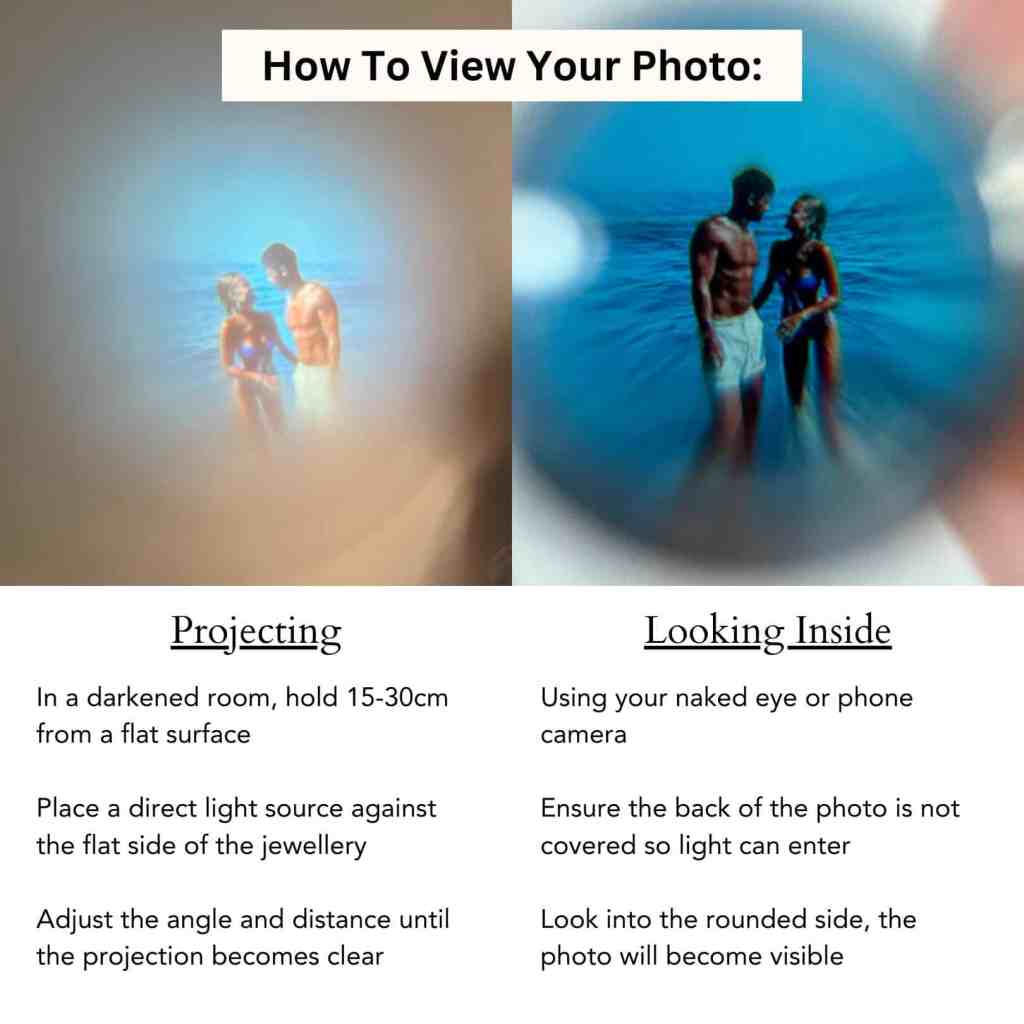
Step 1: Look straight into it
This is the quickest method and the one most people end up using day to day.
- Hold the pendant up with the glassy front facing you.
- Bring it close to your eye, closer than feels natural, until it is almost touching your lashes.
- Ensure the back of the pendant is not being covered so light can pass through
- Move it a millimetre or two back and forth until the image becomes visible.
That last bit is the whole trick. Your eye needs a moment to find the focal point, and the difference between nothing and a perfectly sharp face is a very small movement of your hand.
Step 2: Project it onto a surface
This is the version people film for TikTok, and it is the one that gets a reaction when you show someone else.
- Turn the lights down. It does not have to be pitch black, but a dim room makes an enormous difference.
- Turn on your phone torch and hold the pendant so it is touching it, with the back of the lens towards the light.
- Aim the front of the lens at a pale, plain surface. A white wall, a ceiling, a sheet of paper or the palm of your hand all work well.
- Slide the pendant slowly towards and away from the surface. The image grows as you pull back and sharpens at a closer distance.
Step 3: See it through your phone camera
If your eyes struggle to focus that close, and plenty of people’s do, your phone will do it for you.
Open the camera, hold the lens right up against it, and tap the screen on the pendant to force it to refocus. Most phones will lock on within a second or two. It is also the easiest way to get a picture of the picture, which is what everyone asks for the moment you show them.
If you cannot see anything
Nine times out of ten it is one of these four things.
- You are holding it the wrong way round. Light needs to come through the back of the lens, not bounce off the front. Flip it and try again.
- You are not close enough. Almost everyone underestimates this. The pendant should be practically touching your eye or your camera.
- The lens is smudged. Skin oils, hand cream and hairspray all dull it. A soft dry cloth clears it in a second.
- The room is too bright to project. Looking inside works in daylight. Projecting onto a wall does not. Turn the lights down.
Wearing it every day
Getting the fit right takes about a minute. The chain styles run 16cm with a further 7cm of adjustability, so you slide the clasp along the extender chain until it sits where you want it, snug enough not to spin round your wrist but loose enough to turn. The Rope Photo Bracelet adjusts differently and is designed to fit both men and women.
If the pendant keeps rotating so the lens faces your skin, tighten it by one link. It also keeps the glass off your wrist, which means fewer smudges and less sweat sitting on the lens.

The metal itself is tarnish proof and fade proof and will not turn green, so daily wear is exactly what it is built for. The lens is the part that wants looking after. Keep it out of the shower and the swimming pool, pat it dry if it does get wet, and put it away in its pouch rather than leaving it on the bathroom shelf. We go into the detail in Are Photo Projection Bracelets Waterproof? and in our guide to cleaning and caring for projection jewellery.
The same steps work on the rest of the range
Because the lens is identical across the range, everything above applies just as well to a necklace, a ring or a keyring. Look inside, or shine a light through the back. If you are choosing a second piece, or buying one as a gift, the full line up sits in photo and picture bracelets and photo and picture necklaces, and there is a dedicated guide to photo projection keyrings if that is the one you are after. For a wider look at the styles and who they suit, start with Photo Bracelets: The Ultimate Guide.
FAQ
How do you see the photo in a photo projection bracelet?
Two ways. Either hold the lens very close to your eye and look straight into it, or shine a light through the back of the lens and project the image onto a pale surface such as a wall or your palm. Both take a few seconds once you have found the focal point.
Why can I not see the photo in my projection bracelet?
Usually one of four things: the pendant is the wrong way round, so light is not passing through the lens, you are not holding it close enough, the lens has a fingerprint on it, or the room is too bright for a projection to show up. Work through those four and it almost always appears.
Can you take a photo of the projection?
Yes. Hold the lens right up against your phone camera and tap the screen to make it refocus. Phone cameras often find the focal point more easily than the human eye does, which is why so many people film it rather than describe it.
Can you change the photo inside later?
No. The image is printed onto the lens and sealed inside the pendant when the piece is made, so it cannot be swapped afterwards. That is why it is worth spending a minute on the photo you upload before you order.
Does the photo fade over time?
Not with normal wear. The image sits sealed inside the lens rather than on the surface. What does dull a projection is moisture getting behind that seal, which is why showering and swimming in it are the two habits worth avoiding.





Leave a Reply